Posts

Showing posts with the label how to create a student data base in excel

How to create a simple student data entry in Excel - video showcase

Image

How to create a simple student data entry in Excel

Image
Here's a very easy and simple student data entry tutorial that I'm going to show you how to do it in very easy steps. Once you get around this tutorial you can create one for yourself using different categories, depends how it suits your best needs. So, let's get started!     1. First step, write down the categories as seen on the picture below, select all the cells > insert table > My table has headers > OK.    2. Step two, once you've created the table go to File > Options.     3. Step three, once you click options, a window under the name excel options is going to appear where we have to enable the data entry form command.   - Click the Quick Access Toolbar and under Choose commands form select Commands not in ribbon.    - Scroll down until you find Form, click the ADD>> button until the Form is   shown on the right window and click OK.      4. Step four, aft...

How to create a student result sheet in Excel - video showcase

Image

How to create a student result sheet in Excel

Image
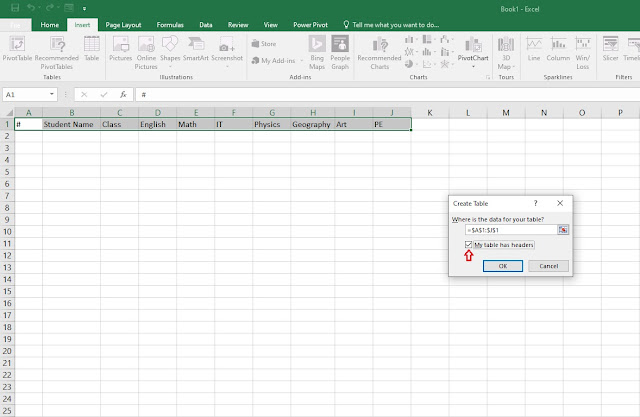
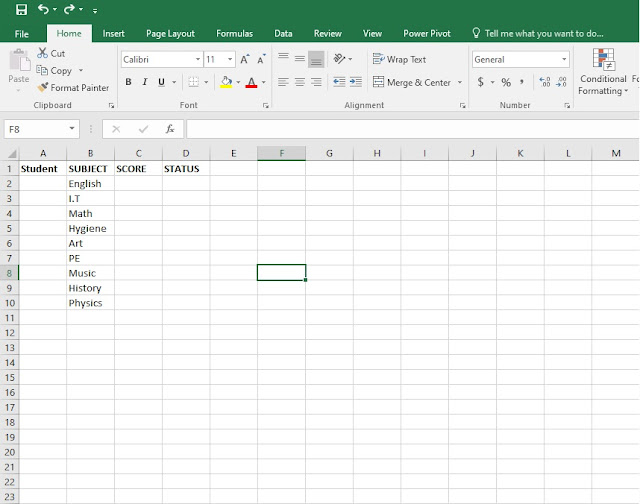
In this tutorial I'm going to show you how to use the IF function (logical test) with the True or False value. Also, how to use symbols in excel.     1. For us to use the IF function and Tick symbols, firstly we have to create a basic student data sheet where you can type the necessary information such as: Student name, subject, score, status etc. The first step for you to do is write down a simple student sheet with the as seen on the picture below.      2. Step two, on the Student column select the cells from A2 to A10 , right click > format cells click on the merge cells box, then set the orientation to 90 degrees and click OK.    3. Once you've merged the cells, write down the name of your student and make sure to align your content and text to center and middle as seen on the picture below. Also, make sure you change your font size to your liking as well.       4. Next step,...