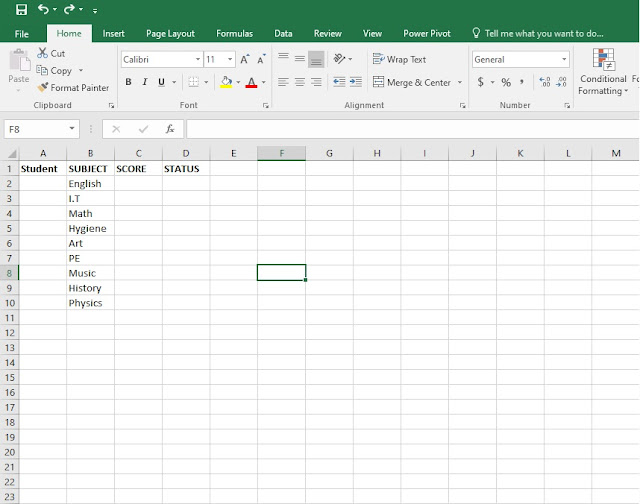
How to create a table in Excel
Hello everyone. In this tutorial I'm going to show you a step by step method on how to create a simple table on Excel in just under a minute.
1. Step one, open Microsoft Excel under a blank page and simply go to Insert > Table.
2. Step two, a small window will appear under the name "create table". Once that does, simply point the mouse cursor on the column you wish to create the table, in my case it's from A1 to H15. Before you click on the desired column, press shift + H15 (desired column).
Click OK and you'll have the table ready as seen below.
3. Step three, if you want to quickly edit your table and want to rename the headlines on the table just double click on the columns (headlines) and start typing. In my case I have written the week days as follows: Monday, Tuesday, Wednesday, Thursday... Quick tip to switch or jump between columns just press the TAB button on the side of your keyboard and you'll jump between columns in precise order.
4. Step four, If you wish to add some design element to your table simply go Home > Format as Table and a drawer will pop down with a number of table designs. Once you've chosen your design with a quick click of the mouse your table will transform to your liking. You can also preview designs just by hovering the mouse cursor on the table design showcase.
5. The fifth and final step of this quick and easy tutorial is to go to Home > All Borders as seen on the picture below and select your borders depending on your choice of the table, in my case I've selected All Borders.
This was just a quick and easy tutorial on how to create a table in Excel. Below, you'll be able to see the video of the tutorial. Hope you've liked it and see you on the next tutorial.


Comments
Post a Comment